 This post contains some affiliate links.
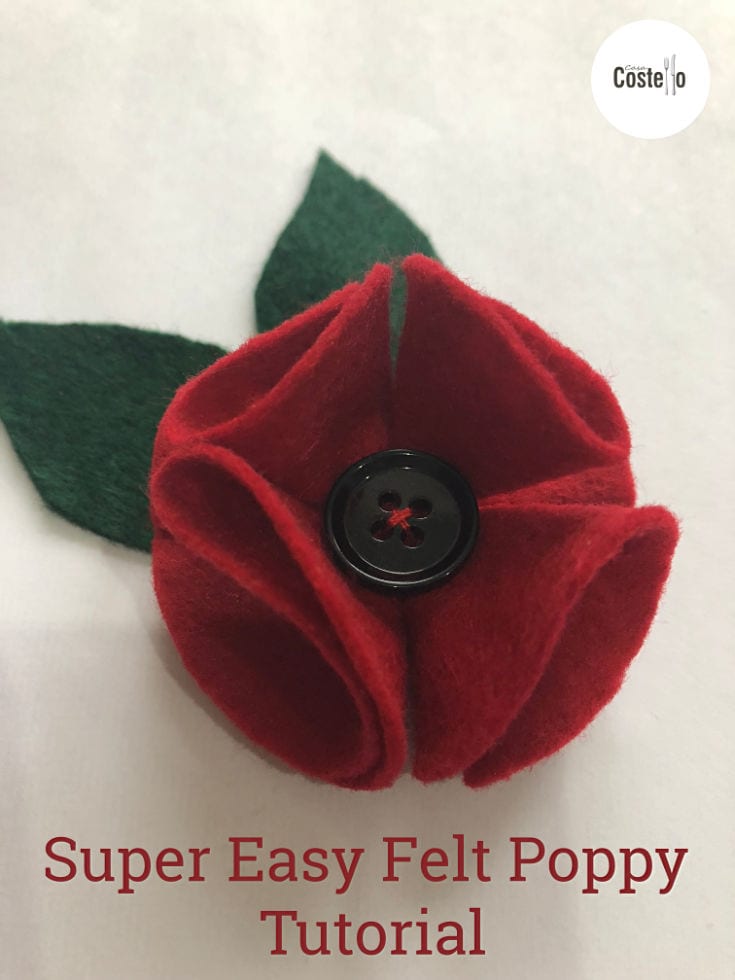
I haven't posted a craft post in ages and have so many to share with you. There's something so satisfying about cosy afternoons and evenings making a project. As always, I'm short of time though so like my crafting to be quick and easy. These felt poppies we are making at WI are just fantastic and so versatile. We are making them as brooches, selling to raise money for our local British Legion association but are also including on a wreath. For the first time, this year, we are taking part in the Remembrance Day parade in our town on the 11th November. If any other groups would like to use the tutorial to make poppies, feel free.
The whole thing started one afternoon at a friend's house where the two of us tried to work out a quick and easy way of making robust poppies. Felt is super forgiving (we definitely don't have time to be sewing hems on any poppies) and they had to be strong enough to hold their shape and cope with a brooch attachment.
We also wanted to make them as cost effective as possible with as little faff as possible. Each brooch actually only costs around 17p in felt plus a button & brooch back
How to make a Poppy Brooch
-
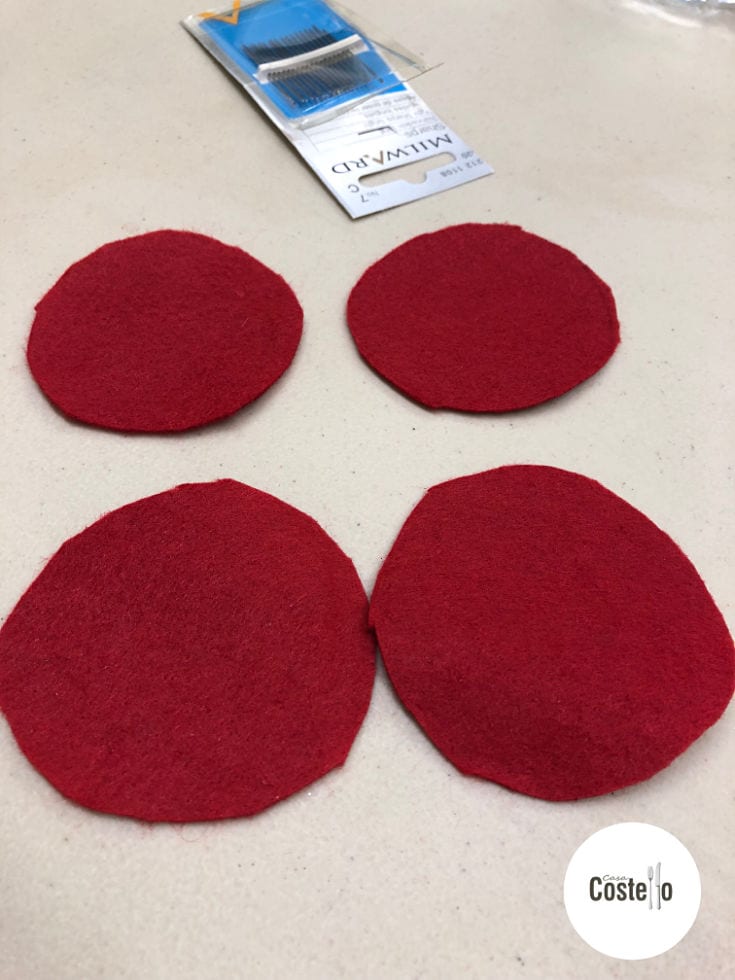
- Cut out 4 circles of red felt - I used a 2 ¼ inch scone cutter as my size guide. Even easier is a circle cutter but I don't have one!

- Fold each circle in half, then half again. Make a couple of stitched in the corner so they hold their shape.

- Sew the folded edges of two circles together just up from the corner. Then sew the other 2 circles the same way and sew together. Just a few stitched in the centre will do.

- Sew through the centre to attach a black button.

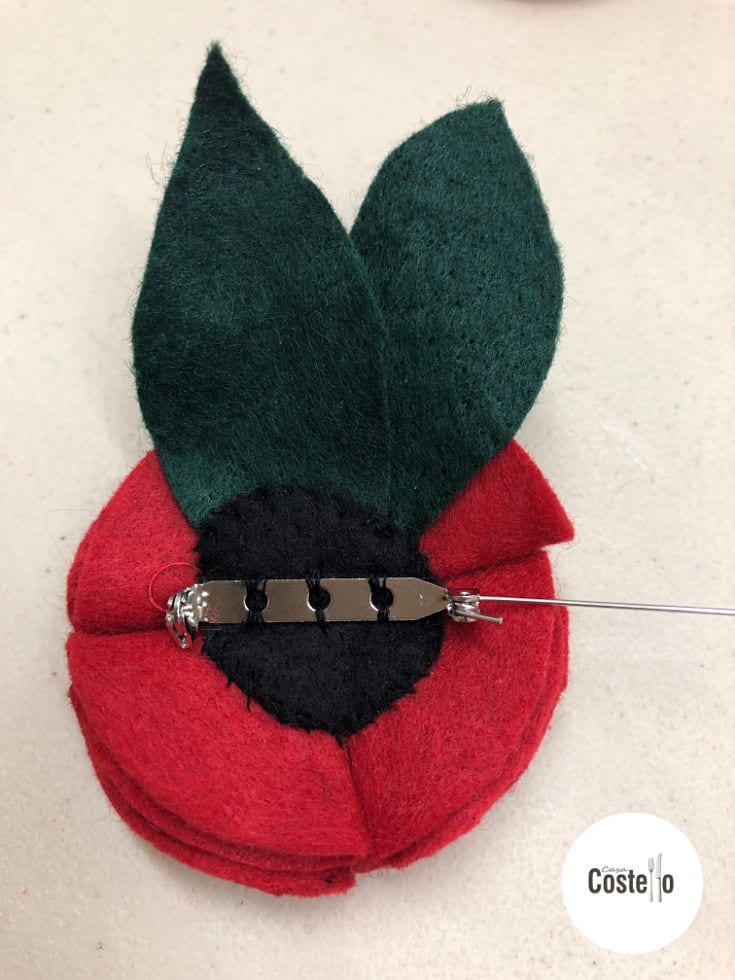
- Cut 2 leaf shapes freehand using the green felt and attach to the back of the poppy. Make them slightly overlapping each other. If using as a brooch attach a small circle of either green or black felt then attach a brooch fastener.

- Cut out 4 circles of red felt - I used a 2 ¼ inch scone cutter as my size guide. Even easier is a circle cutter but I don't have one!
We are also part way through making a wreath with these poppies. We haven't attached leaves to all of the flowers as most traditional wreaths. To make the wreath, we have wrapped strips of black felt around a polystyrene wreath, attaching with a small amount of glue and pins. The flowers are added to the wreath by poking a pin through the bottom of each petal.
Pin for later:


I have used these poppies to decorate my daughter's headbands. They are so pretty and easy to make! I really have to take some time and make the poppy wreath! It looks gorgeous!
What a fun and beautiful project. Adding them to the wreath really looks amazing and would make a great door decor! I can't wait to see if my son wants to help make this with me.
These are so cute! I can also see them on a knitted cap or scarf!
What a great idea and I can even envision a cluster of them on gifts, hair bows etc... Easy and great idea!
I love DIY but I often find it difficult to follow instructions. I love the idea of making a pretty poppy out of felt. The instructions look easy enough. Lovely pictures, too 🙂
love it very pretty it looks like tedious work, thanks for sharing
That really is pretty simple! I would love to make some with my family.
This looks like something even I could do! I really love that wreath. So pretty!
Making a wreath here in Canada for Remembrance Day. This is so fast and easy! I have a whack of red velvet so I may see if that would work too. The felt was so easy. I stacked it up and cut 3 at a time
That's brilliant to hear. Well done for making one!
Love this ! Just wondering how many poppies were made for the wreath…
Going to make it next week
Hiya, thanks for your question- We forgot to count the poppies but I think it was between 80-100 poppies. We made ours really full though - If you don't have time to make so many, you can spread them out more.
Thank You a Perfect make for the most useless Crafter in the world , Me ,I’m loving making them , and they look great .
Oh that's great - I'm sure you aren't the worst crafter! So pleased you are enjoying the tutorial.